Photo Studio · PRACTICAL GUIDE
From original upload to dealership photo: a Jaguar I-PACE example
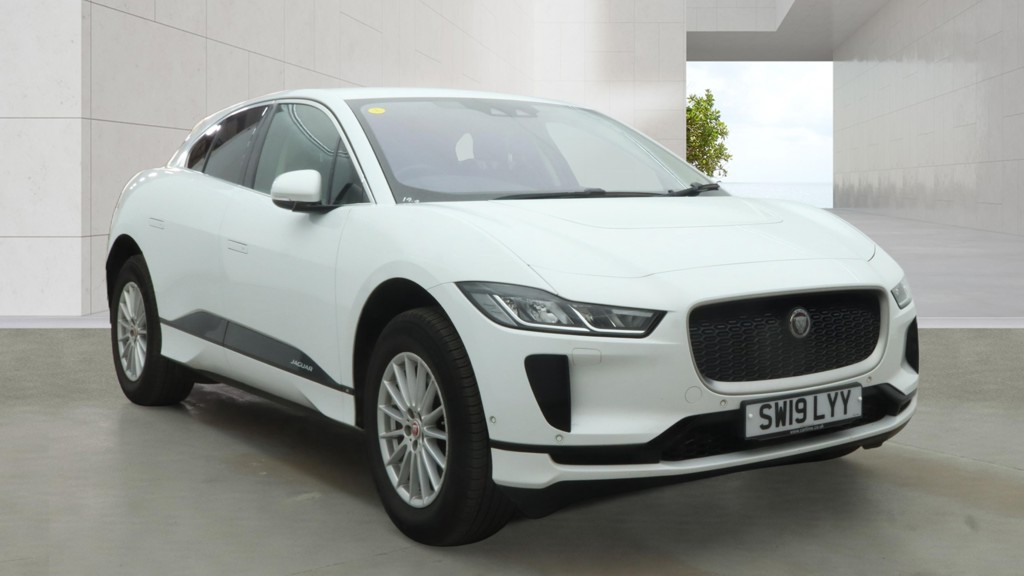
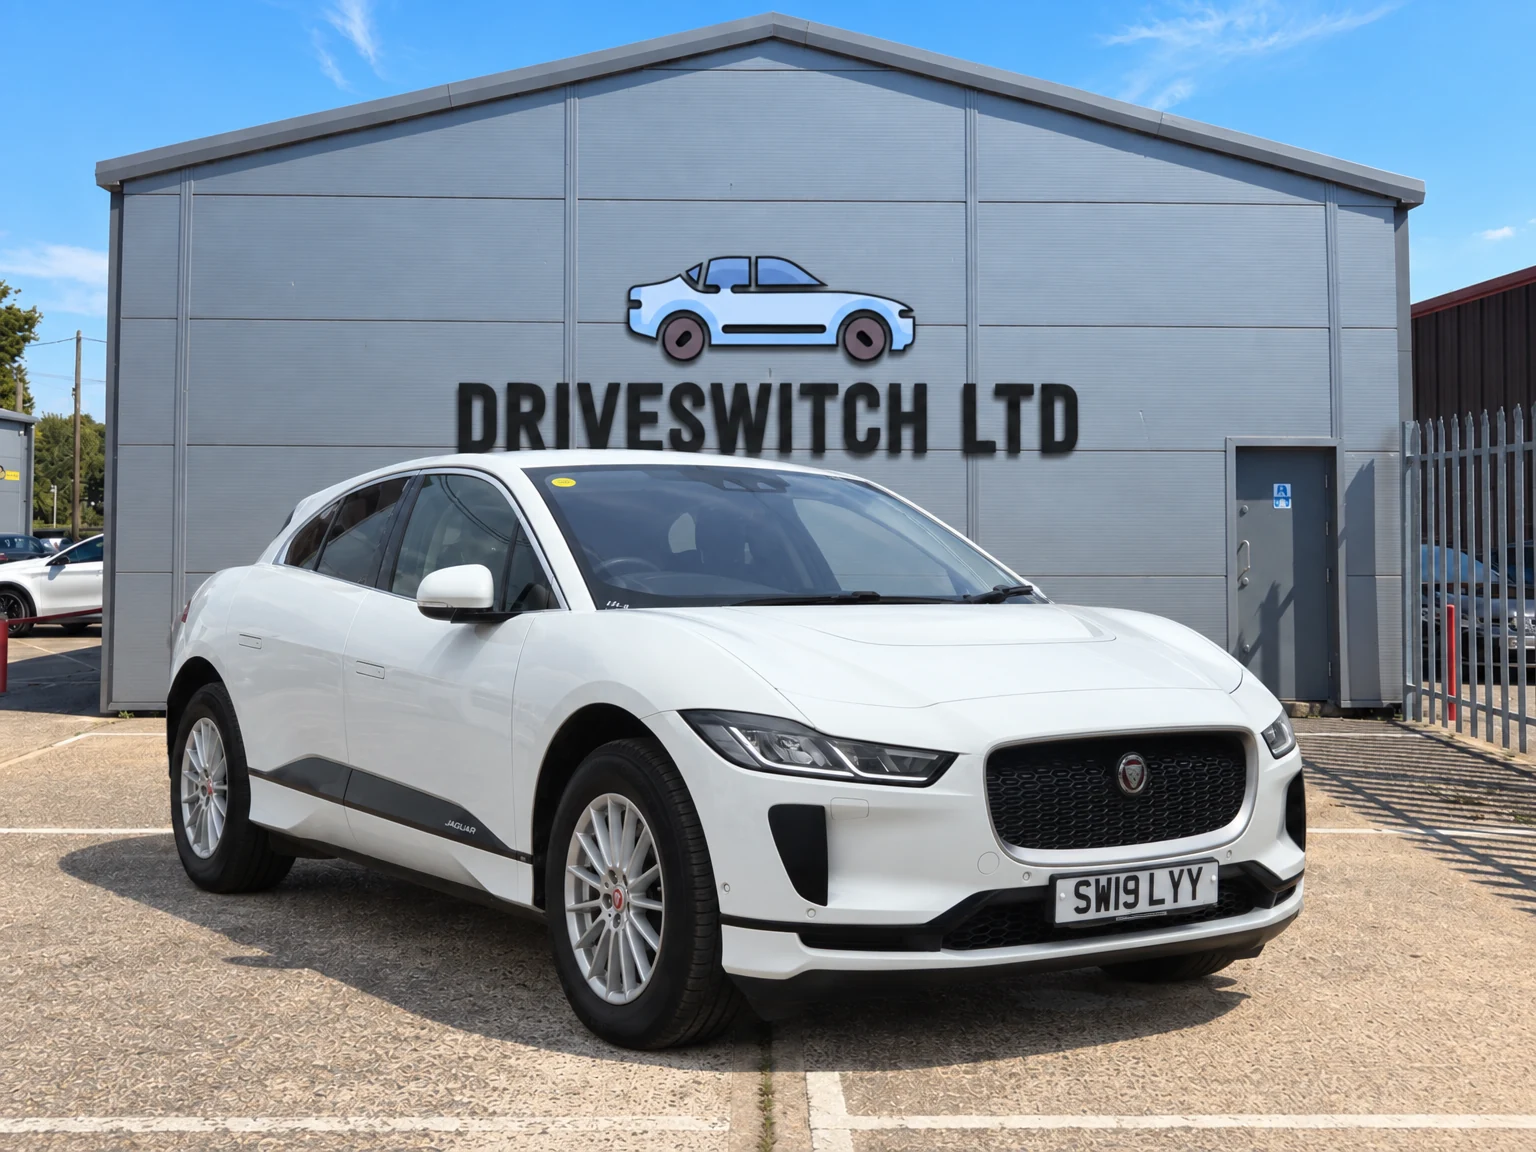
These photographs show the white Jaguar I-PACE SW19 LYY before and after editing in Photo Studio. The original uploads and saved results were supplied by Driveswitch. Each pair shows the same source photograph, so you can inspect what changed rather than compare different camera angles.
Product demonstration using images supplied by Driveswitch. These examples show saved editing results; they do not establish a change in sales, enquiries or editing time.
Exterior: a dealership setting around the vehicle
The original front three-quarter photo has a white indoor setting. The saved edit places the vehicle in a Driveswitch dealership scene. Both full images are shown without cropping the original to match the edited shape.
When reviewing a background replacement, start with the car itself. Check the registration, badges, wheel design, paint colour and the shape of the lights. Then inspect the contact between the tyres and the ground, the vehicle’s scale against the building and the edges around glass and mirrors. A consistent background is useful only when the vehicle is still represented accurately.
Interior: inspect the detail as well as the overall finish
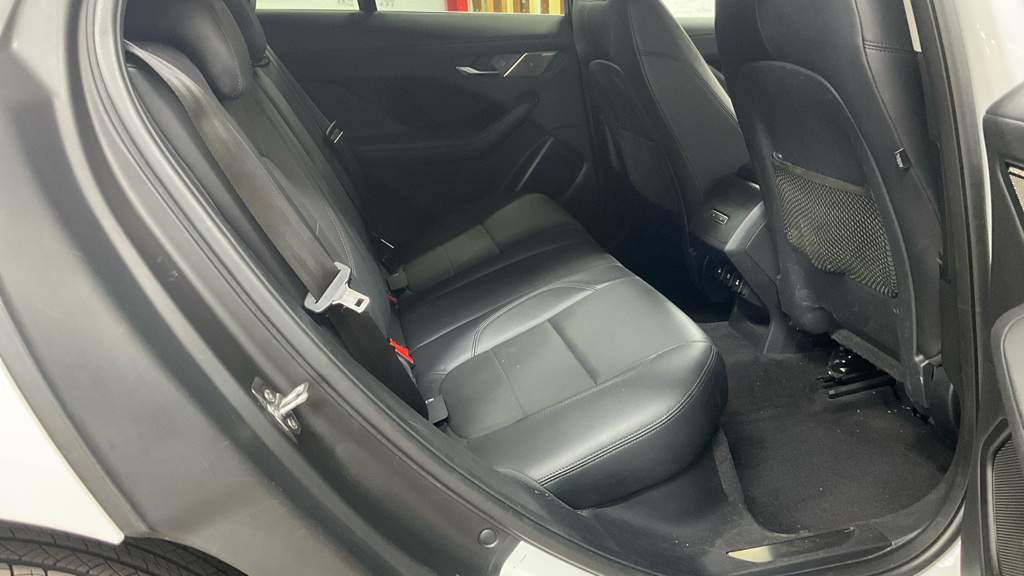
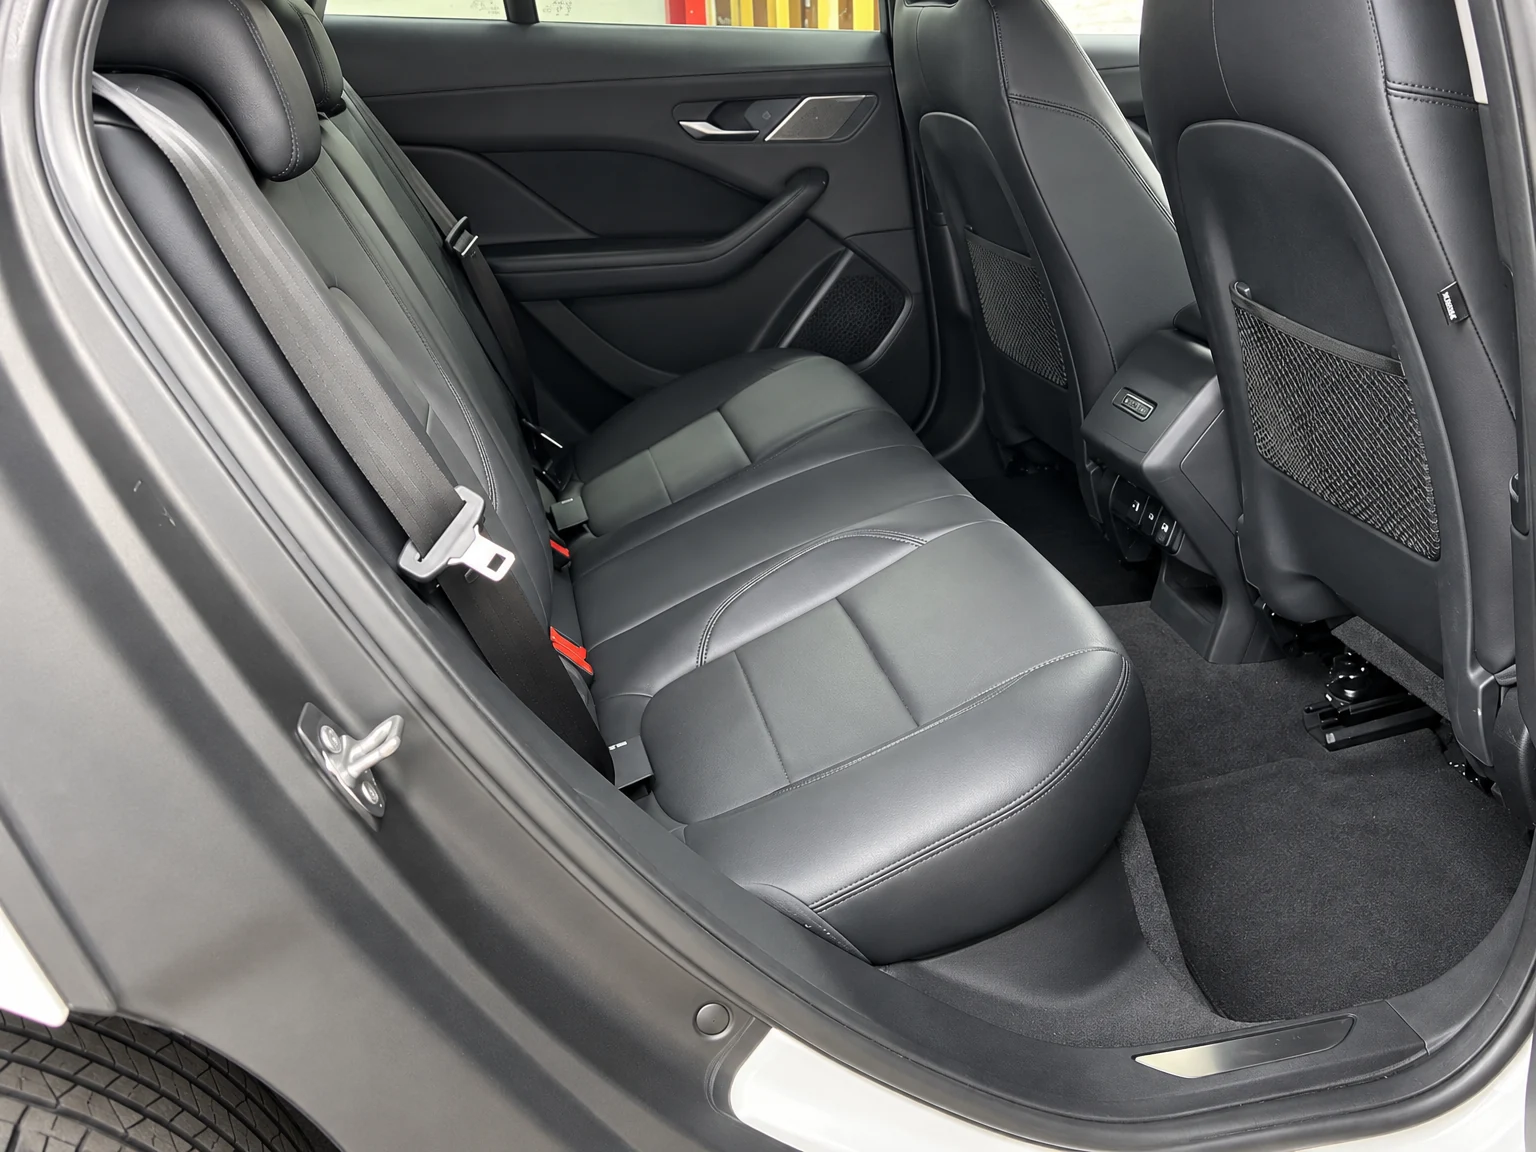
The rear-seat comparison shows the original cabin photograph alongside its saved interior edit. Interior photographs use the vehicle’s existing surroundings rather than an exterior dealership background.
Look at the seams, seat-belt fittings, door trim and footwells when comparing a cabin image. Check that the upholstery colour remains representative and that lighting changes have not removed meaningful signs of condition. Keep separate original photographs of wear or damage that the buyer needs to see. You can enlarge either image to make these comparisons.
Use the same review process for your next vehicle
Start with clear original photographs and the correct registration. Choose the exterior background and treatment you want, check each photo’s type and run an initial edit. Use Compare to inspect the result before continuing with the batch.
If an image needs adjustment, Refine creates a new edit. Once the set is ready, download the completed images as a ZIP and keep local copies with your vehicle records. Saved Photo Studio images are retained for 120 days.
If you want to measure the effect on your own workflow, record the number of photographs, hands-on preparation time and the number of edits needing another attempt. Compare similar batches. The images on this page demonstrate the process; any time or commercial benefit needs to be measured separately.
- Match each edited photo to its original.
- Check vehicle identity, colour, specification and condition.
- Review the background, scale, ground contact and shadows.
- Download the approved set and retain the original files.
Prepare your next set with Photo Studio
See the photo editing tools, background options and complete upload-to-download walkthrough.
Explore Photo Studio